WEB BUTTONS HOW TO'S
 How To's
 Tab Menu With Submenu
- Dhtml Collapsible Menu
- Horizontal Drop Down Navigation Menu Code
- Vista Cascade Start Menu
- Menu Rollover Horizontal
- Coding Html Button Sliding Menu
- Horizontal Drop Down Menu Html
- Rollover Menus Chromestyle Css
- Pull Down Menu Css Sample
- Simple Drop Down Menu Html
- Vertical Slide Down Menu
- Menu In Html With Javascript
- Create A Menu
- Drop Down Menu Time Html
- Simple Mouseover Menu Css
- Linux Bash Menu
 Features
 Online Help
  FAQ
FAQ


QUICK HELP
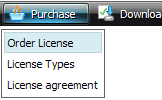
CREATING SUBMENU HTML
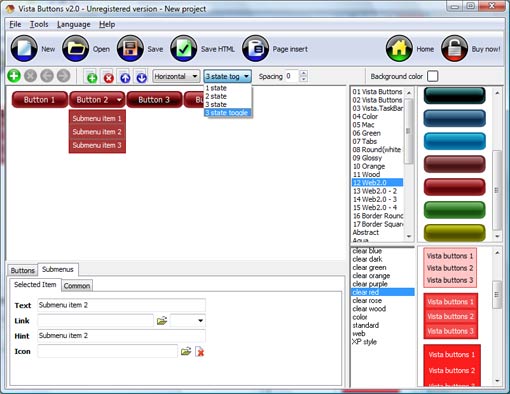
Button Themes Toolbox

In the Themes toolbox you can choose selected buttons for web appearance. Click theme name to open it. The theme's available button backgrounds will appear in the Button backgrounds list.
You can check how a background responds to the mouse events without applying it. To do so just move mouse over/click the background.
To apply chosen background, just double-click it. Selected buttons' appearance will change.
DESCRIPTION
Professional Look-n-feel Drop Down Menu Java Codes
Professional Look-n-feel Css Naviation
Css Navigation Unten Creating Submenu Html High Quality and Professional Results
RELATED
MENU SAMPLES
XP Style Metallic - Web Design GraphicsTabs Style 2 - Web Buttons
Ajax Dropdown Java Tasten Tabs Style 8 - Web Site Graphics
Vista Style 1 - Buttons for Web
Vista Style 3 - Html Buttons
XP Style Olive - Image Button
Common Style 1 - CSS Button
Collapsing Vertical Menu
Common Style 2 - Navigation Buttons
SELECTED SAMPLE